
If you are a content marketer and you care about measurement, chances are that you want to know:
- How far down each of your posts people are scrolling
- Which links in your posts get the most clicks
- How long people are really spending on your content (and why the metric ‘time on page’ is wrong by default)
- What content each specific user viewed before converting, in order
In this post, you’ll see how to setup Google Analytics to show you this data, with video tutorial walkthroughs.
But before we get started, some housekeeping. In order to do this, you need to be using Google Analytics (GA) and Google Tag Manager (GTM), for optimal results. If you’re not using GTM yet, check out this great intro video and do yourself the favour of opening that door – it’s worth it.
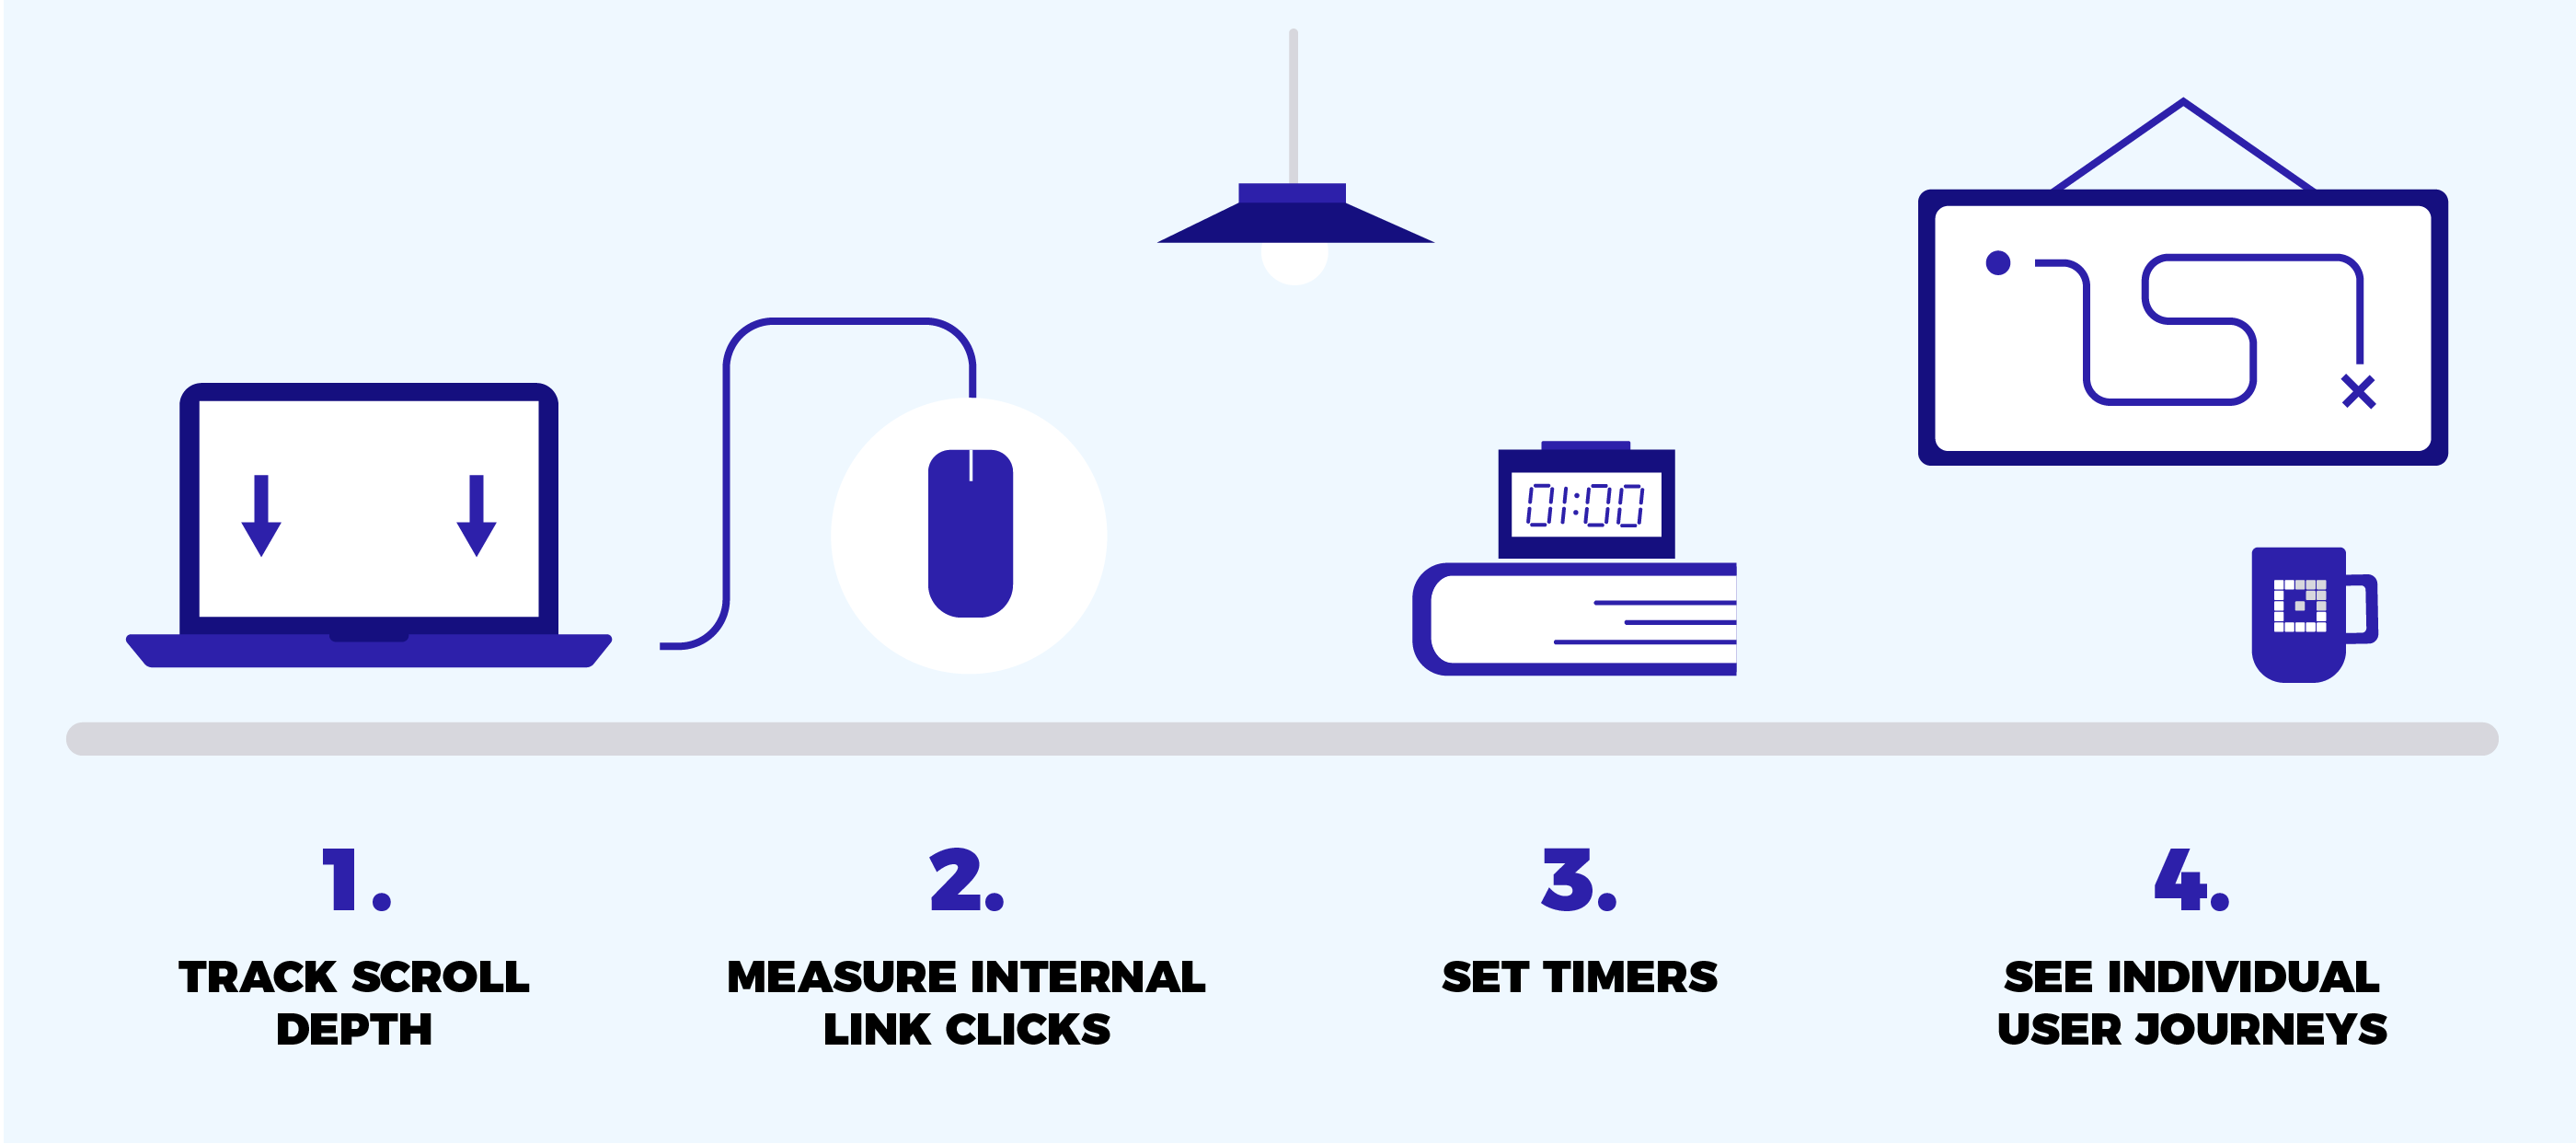
#1 How to track Scroll Depth (top)
Let’s see how far down your posts and pages people are scrolling, so you know:
- Where to put calls to action, imagery, headings, links, etc.
- Whether there is a point in your content that people are stopping
Video tutorial:
When you’ve set this up, you will soon see info like this showing Scroll Distance for each page of your site. Cool!

If you want further info to the above, check out this step-by-step guide to Scroll Depth post.
#2 How to measure internal link clicks (top)
You want to know which internal links people are (and are not) clicking on. This next GA hack will show you:
- The page people clicked ‘from’
- The page people clicked ‘to’
- The anchor text of the link
Some of you may be wondering “why not just use UTM parameters to track internal link clicks?”
Please don’t. UTMs have a time and place, but tracking internal links isn’t one of them unless you take a lot of extra steps. The reason for this is, out of the box, UTM parameters start a new session when they get clicked. Consider the following:
- A visitor comes to your site and browses a few pages of content
- That visitor then clicks on a link in your content that is tracked with a UTM parameter, causing GA to start a new session (even though it’s not a new session!)
- That visitor converts
- GA records a conversion and attributes it to the data in the UTM parameter only
Problem, right?
Further, setting up UTMs for internal links is a lot of work to do manually.
The easier and better way to track internal link clicks is to use GTM and not UTMs, giving you a report that looks like this:
![]()
Video tutorial:
For the extra info like ‘from’, ‘to’ and ‘text, which I think make it a lot easier to interpret your GA data, here’s the setup, starting with Tag Configuration in GTM:
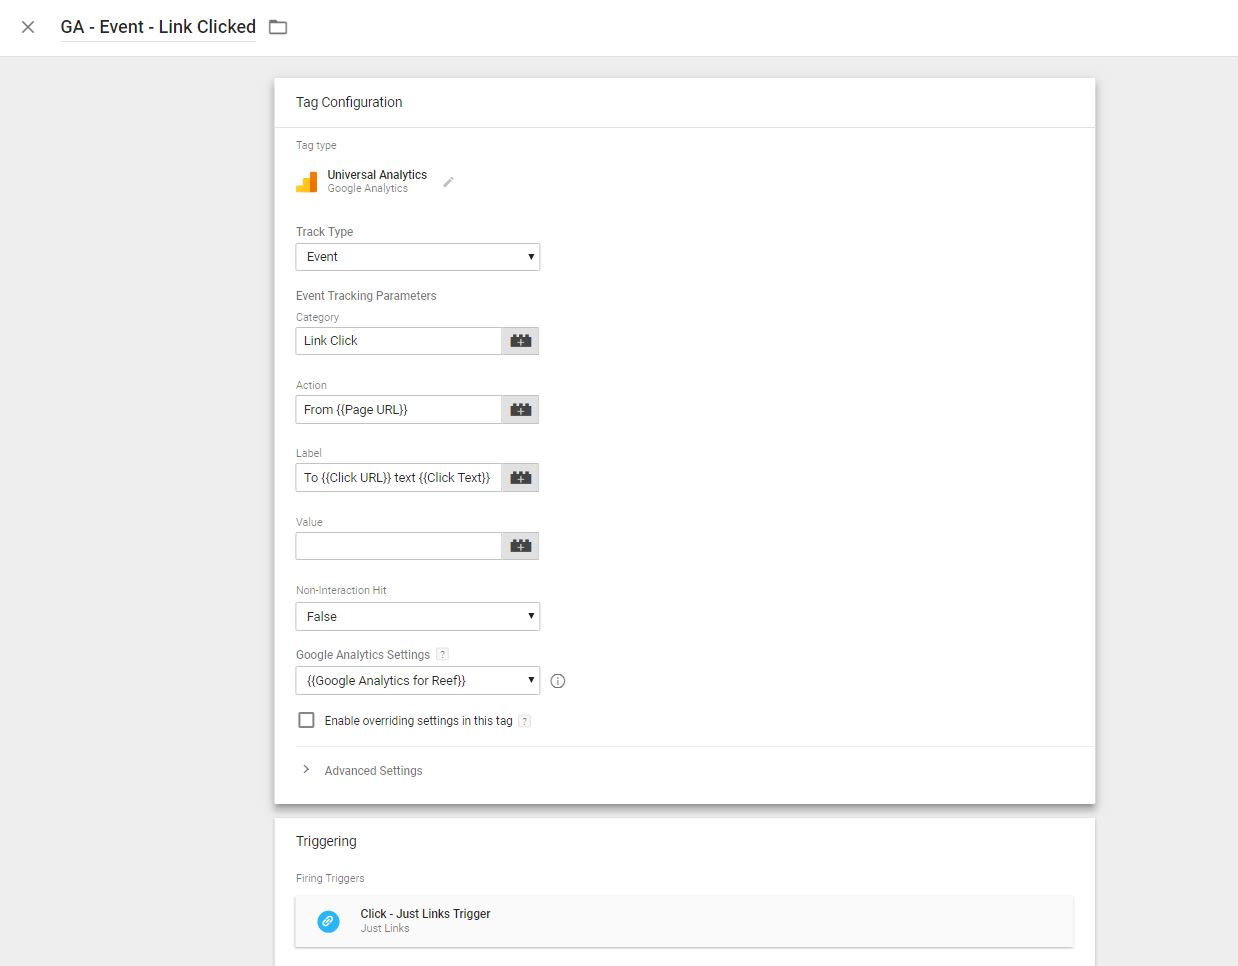
In the Action field, type: From {{Page URL}}
Explanation: the word From is just plain text and the {{Page URL}} is a variable
In the Label field, type: To {{Click URL}} text {{Click Text}}
Explanation: as above, text and variables
In the Google Analytics Settings field, I’ve setup a variable with the GA tracking ID in it. You can input your tracking ID manually, though.
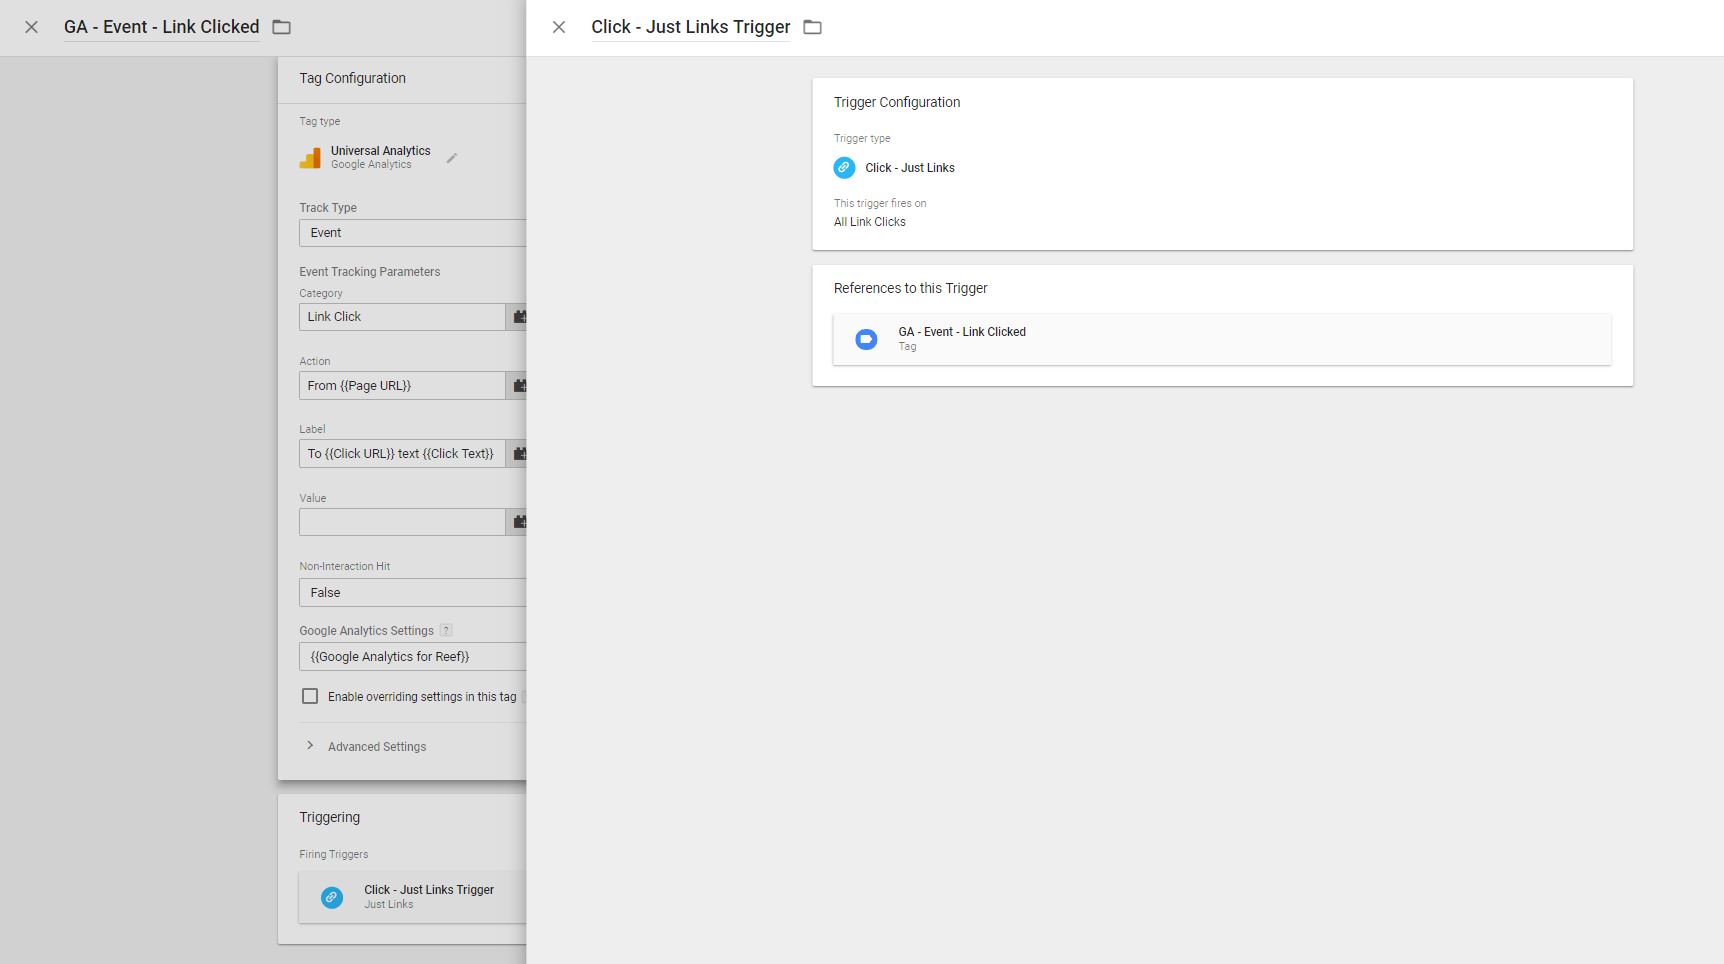
And the Trigger Configuration:
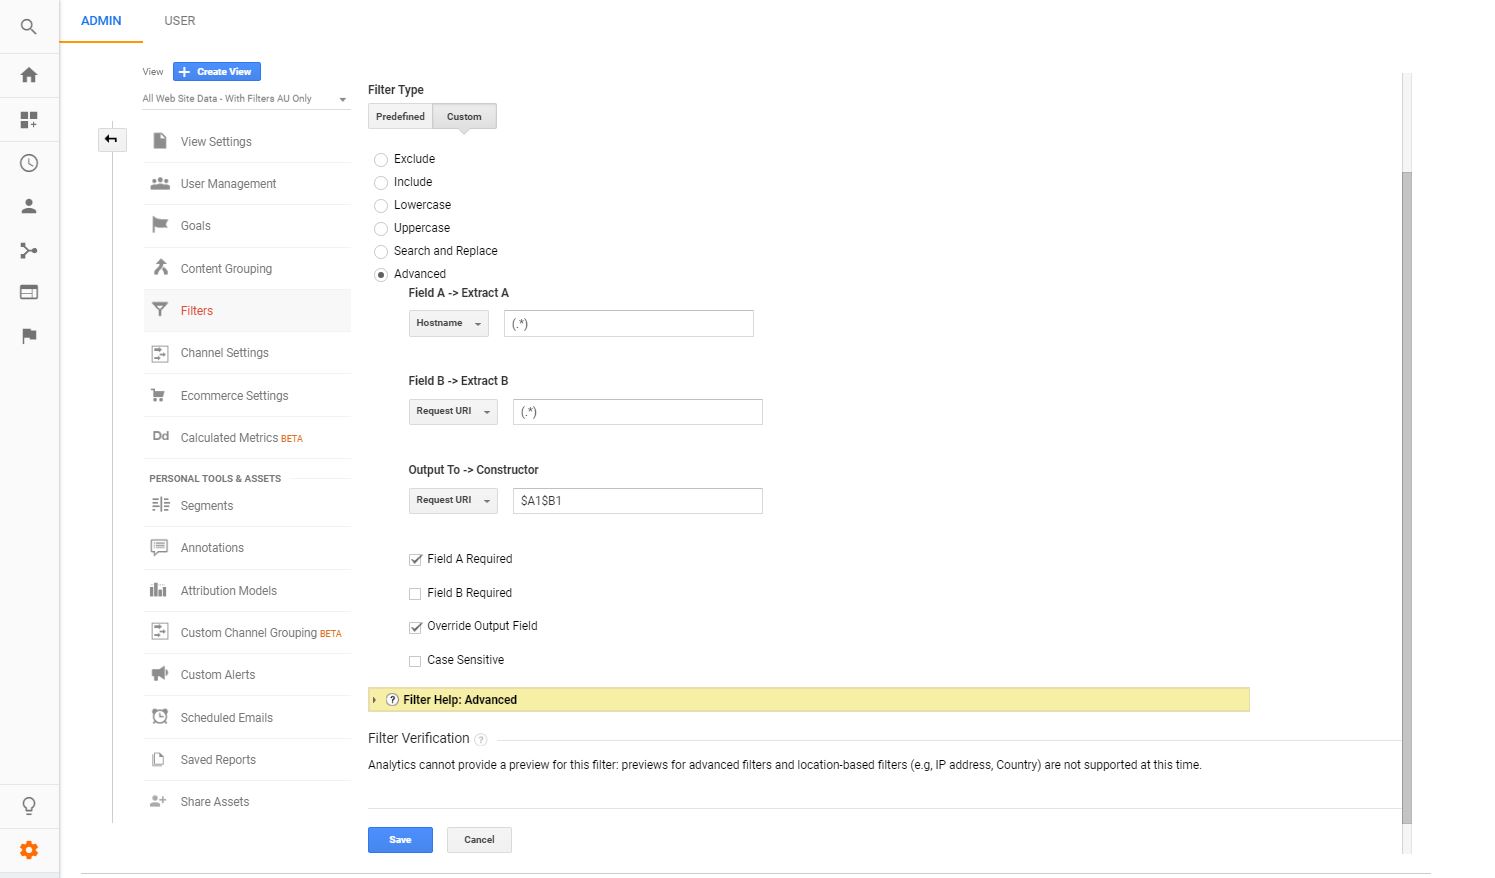
To see the full URL in your reports (e.g. https://reefdigital.com.au/get-in-touch/ instead of just /get-in-touch/) follow these instructions in GA (not GTM).
Here’s a screenshot to aid the instructions mentioned above:
#3 How to set timers (top)
This next GA hack will get you better time on page measurement.
You need this because the way GA measures time on page isn’t perfect, by default. Here’s why.
GA records time on page by:
- First measuring when the tag first loads, e.g. a pageview
- Then measuring when the tag loads again, e.g. another pageview
- Then calculating the time between each interval = time on page

This is a problem for two reasons:
- If a person only views one page of your site, like that new blog post you just published, GA will show a time on page of 0:00 even if the user actually spent several minutes enjoying your hard work
- The last page of any session will have only one tag load, so will be 0:00. Sitewide skewing!
To improve time on page accuracy, you can set a timer to fire every X seconds, giving GA an interval to measure (the timer) without needing to wait for another pageview.
Video tutorial:
You will notice that the GTM interface has changed since this video was made (although video is still valid), so here’s a blog post with updated instructions.
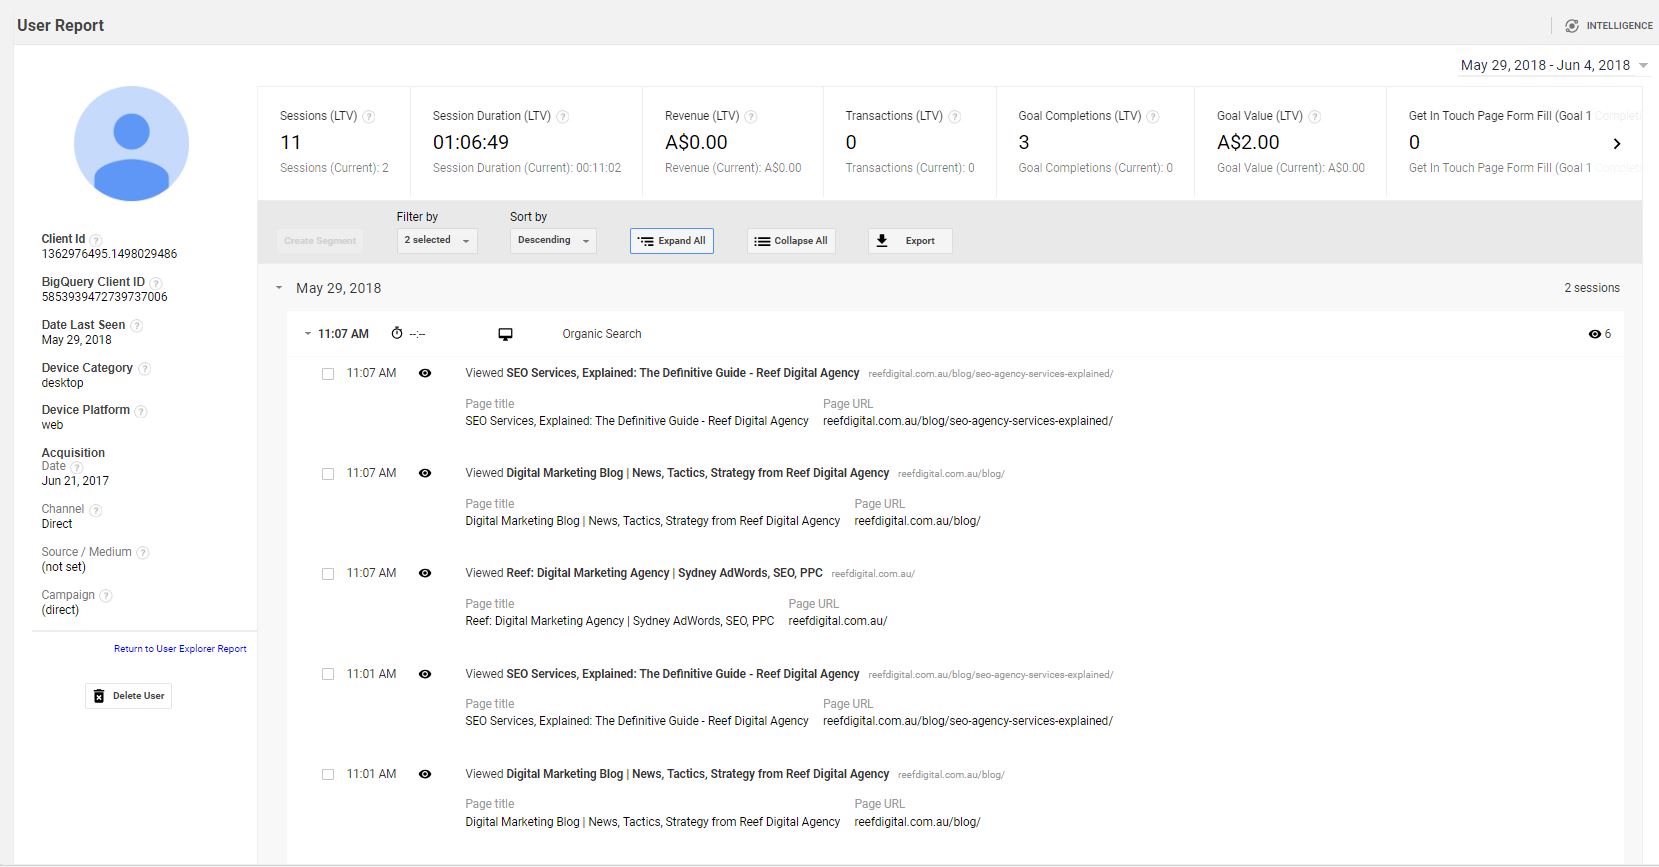
#4 How to see the content each specific user viewed before converting, in order (top)
Check out the (new) User Explorer report to see how individuals navigated through your site.
Video tutorial:
rame>
View this report by going to Audience > User Explorer.
You will then see this, where each Client Id represents an individual.
![]()
Select a Client Id to see explore that users journey:
Better measurement ↔ better insights ↔ better marketing
These four upgrades to your content marketing measurement will help you get more value and accuracy from your data, so you can better understand and create for your visitors.
If you like this kind of thing and want to go further, consider signing up for the Measurement Marketing Academy run by Chris Mercer, who helped bring these reports to my attention.
Happy optimising!